 Isaiminia World Breaking News & Top Stories
Home renovation costs have skyrocketed in recent years, with professional labor and specialized equipment eating into budgets faster than most homeowners anticipate. Yet one tool consistently proves its worth for DIY enthusiasts looking to cut expenses without sacrificing quality: the palm sander. This compact, versatile device transforms rough surfaces into smooth, paint-ready finishes at a fraction of what you’d pay a contractor. The challenge many budget-conscious homeowners face isn’t whether to invest in a palm sander—it’s finding one that delivers reliable performance without draining their wallet. Between navigating confusing sale prices, choosing the right sanding head collection, and determining which features actually matter, the purchasing process can feel overwhelming. This article cuts through the noise to deliver practical, cost-effective solutions for buying, using, and maintaining a palm sander that serves your renovation goals. Whether you’re refinishing cabinets, prepping walls, or restoring furniture, you’ll find actionable strategies to maximize savings while achieving professional-looking results.
Understanding the Palm Sander: A Budget-Friendly Tool for Home Renovation
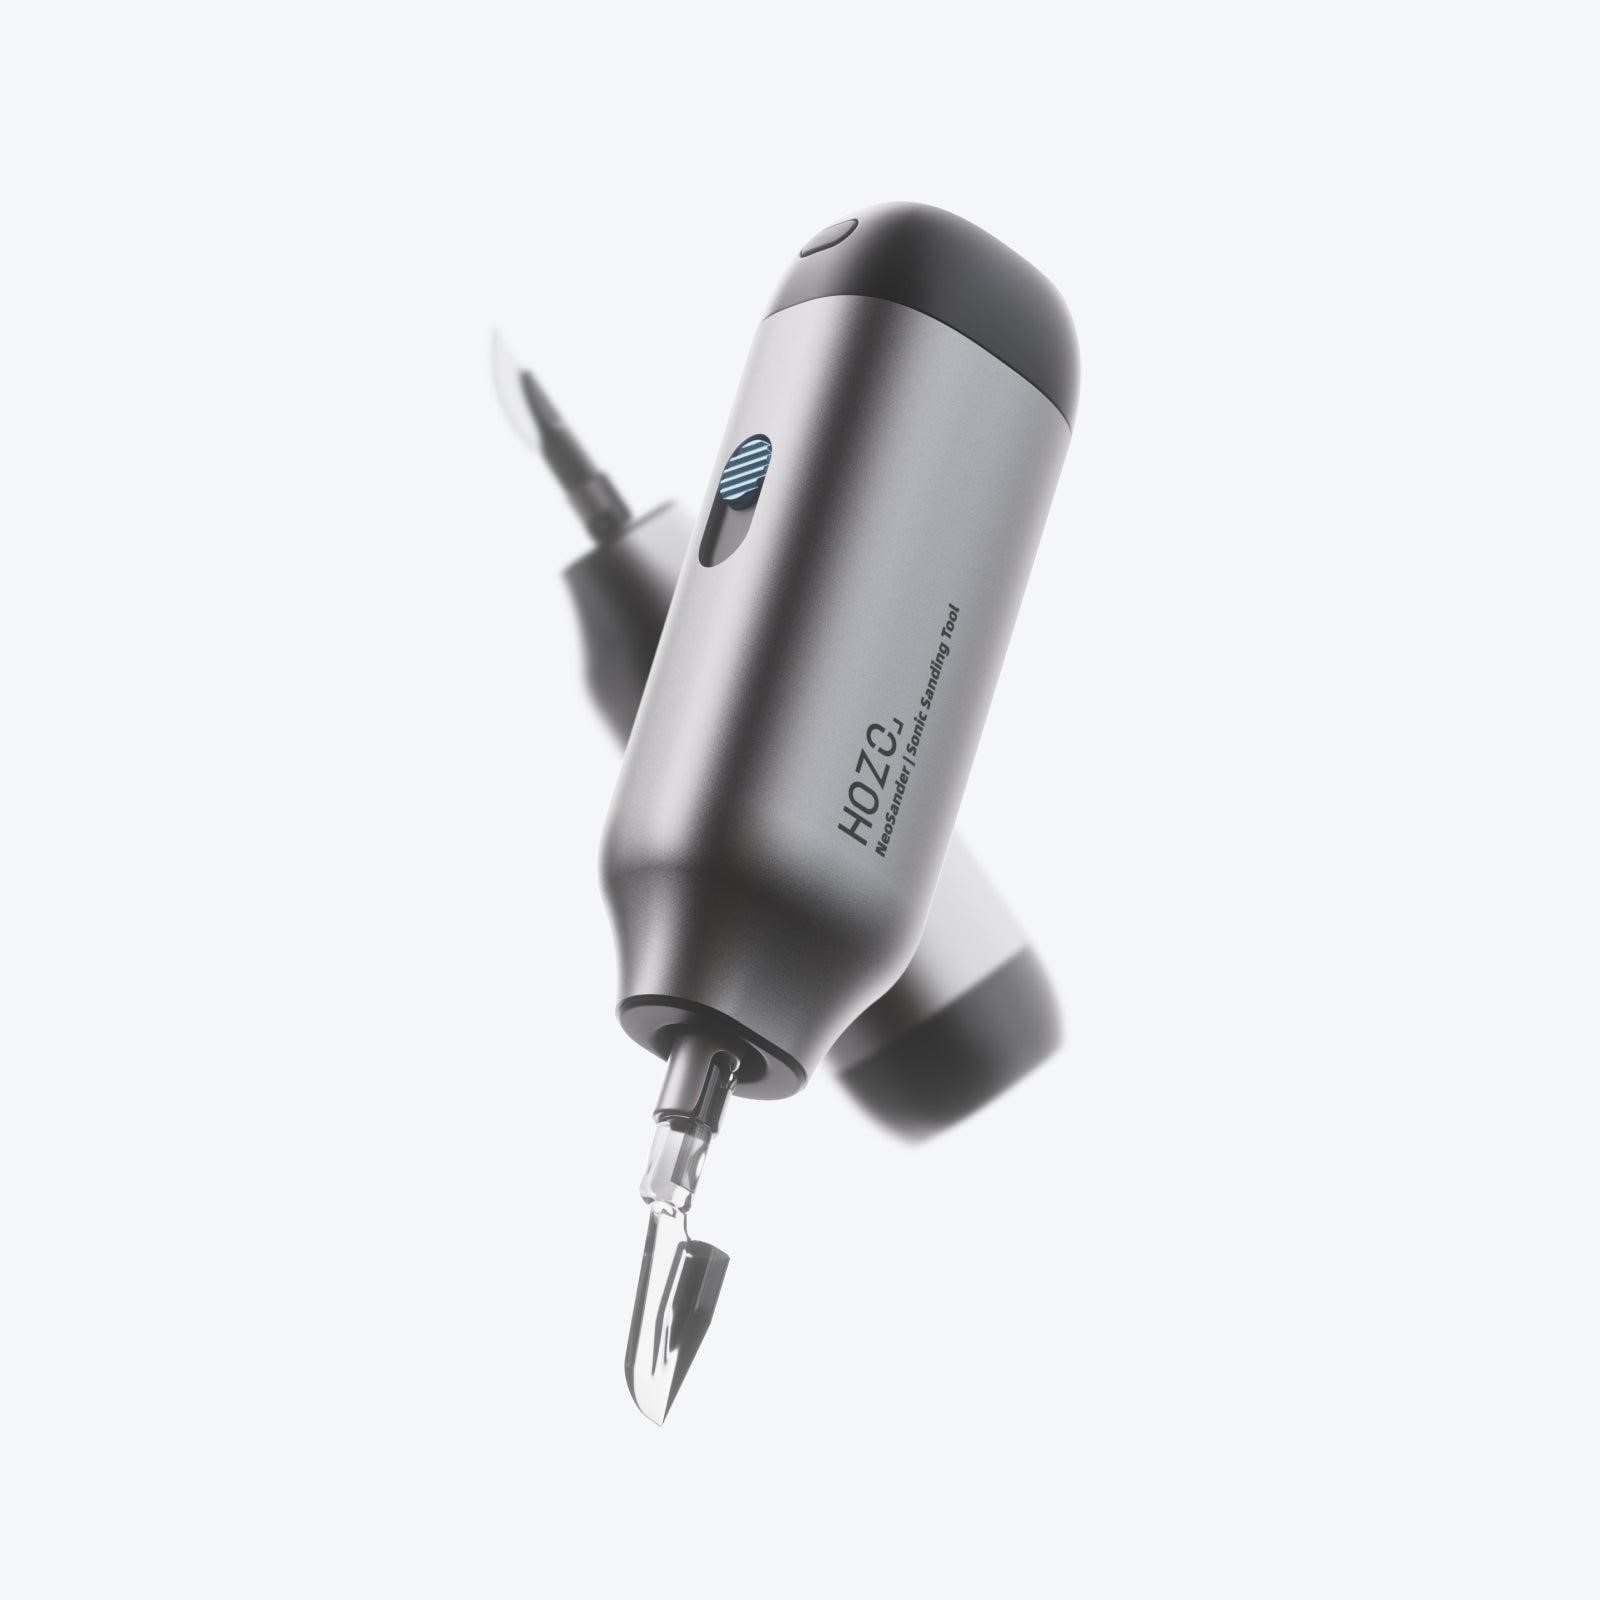
A palm sander is a handheld power tool designed to smooth wood, drywall, and other surfaces through rapid orbital or vibratory motion. It fits comfortably in one hand, making it ideal for extended use without fatigue—a crucial advantage when tackling weekend renovation projects. The tool works by spinning or vibrating a sandpaper sheet at high speeds, removing material evenly and preparing surfaces for paint, stain, or sealant. For DIY homeowners, the palm sander eliminates the tedious, inconsistent results of hand sanding while costing significantly less than belt sanders or professional-grade finishing equipment. Most quality models fall well within reach of modest tool budgets, yet they handle tasks that would otherwise require hiring a contractor: smoothing cabinet doors, feathering drywall patches, removing old finishes from furniture, and prepping trim for repainting. Within the broader category of home renovation tools, the palm sander stands out for its versatility-to-cost ratio. Unlike specialized equipment that serves a single purpose, this tool adapts to dozens of projects across multiple rooms. For budget-conscious consumers seeking reliable, cost-effective solutions, it represents one of the smartest initial investments in a growing tool collection.
Key Features to Look for in an Affordable Palm Sander
When shopping for a palm sander on a budget, focus on three core features that directly affect performance: motor power, variable speed settings, and dust collection capability. A motor rated between 2 and 3 amps handles most residential tasks comfortably—anything less struggles with hardwood, while anything more adds unnecessary cost. Variable speed control lets you dial back intensity for delicate work like veneer or increase aggression for stripping old paint, effectively giving you multiple tools in one. Dust collection matters more than many buyers realize; a sander with a functional dust bag or vacuum port saves hours of cleanup and protects your lungs, reducing the need for separate dust management equipment. When evaluating a sale price, don’t just compare the sticker number—factor in what’s included. Some discounted models omit sandpaper, forcing an immediate additional purchase. Others bundle accessories that inflate the original price artificially. A genuine deal offers a well-reviewed sander at a reduced cost, not a stripped-down unit dressed up with a percentage-off tag. Compare at least three models side by side, weighing their features against actual user feedback rather than marketing claims.
Evaluating Durability and Warranty for Long-Term Savings
A sander that lasts five years costs far less per project than a cheap model replaced annually. Check for metal internal components rather than all-plastic construction, and look for sealed bearings that resist dust infiltration. Read user reviews specifically from people who’ve owned the tool for over a year—early impressions rarely reveal longevity issues. A warranty of at least two years signals manufacturer confidence and protects your investment against defects that budget tools sometimes carry.
Finding the Best Sale Prices and Deals on Palm Sanders
Timing your purchase strategically can shave 20 to 40 percent off retail pricing without requiring you to compromise on quality. The best sale prices on power tools typically appear during holiday weekends—Memorial Day, Labor Day, and Black Friday consistently deliver the deepest discounts from major retailers. End-of-season clearances in late summer also produce excellent deals as stores rotate inventory to make room for new models. Online retailers frequently undercut brick-and-mortar pricing, but shipping costs can erase those savings on heavier items, so factor in total delivered cost when comparing. Price comparison browser extensions track historical pricing and alert you when a tool drops below its average, removing the guesswork from deal-hunting. Set up email alerts on two or three retailers for the specific models you’ve researched, and check manufacturer refurbished listings—these often carry full warranties at 30 percent below new pricing. Don’t overlook local estate sales, pawn shops, or community marketplace listings where barely-used sanders sell for half their original cost. The key is patience paired with preparation: know exactly which model you want, understand its typical price range, and act decisively when a genuine discount appears rather than impulse-buying an unfamiliar brand simply because the percentage off looks impressive.
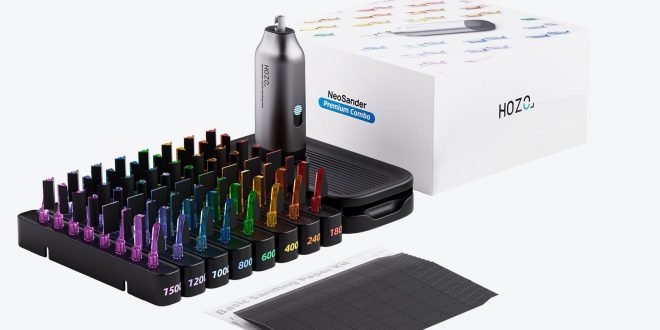
Building a Cost-Effective Sanding Head Collection
Your palm sander is only as effective as the sanding heads you attach to it, and building a practical sanding head collection doesn’t require spending extravagantly. Start with three essential grits that cover most renovation scenarios: 80-grit for aggressive material removal and paint stripping, 120-grit for general smoothing and shaping, and 220-grit for final finishing before paint or stain application. These three alone handle roughly 90 percent of residential projects. Buying multi-packs rather than individual sheets drops your per-piece cost dramatically—a 50-pack of assorted grits often costs less than purchasing ten sheets separately. Watch for bundle deals when retailers discount sanding accessories alongside power tools, as these pairings frequently appear during the same seasonal sales that reduce sander prices. Manufacturers like HOZO often offer accessory bundles that pair well with their tool lines, giving budget-conscious buyers more value per purchase. Store your collection flat in a sealed container to prevent moisture damage and curling, which causes premature waste. Replace heads when they visibly lose their abrasive texture rather than pushing through with worn sheets, since dull sandpaper forces you to apply excessive pressure that strains both the motor and the workpiece.
Types of Sanding Heads and Their Uses
Standard orbital sanding pads work best for flat surfaces like tabletops, doors, and wall patches. Detail or triangular sanding heads reach tight corners on trim, window frames, and furniture joints where square pads can’t access. Hook-and-loop attachment systems allow faster swaps between grits mid-project compared to adhesive-backed options, saving time and reducing waste. For most beginners, a starter set combining orbital pads across three grits plus a detail attachment covers every common task without overinvesting in specialty heads you may never use.
Enhancing Projects with Affordable Measuring Tools
A palm sander delivers flawless results only when you know exactly where and how much material to remove, which makes accurate measuring an essential companion skill. Affordable measuring tools like a quality tape measure, a combination square, and a small torpedo level help you mark sanding boundaries, check surface flatness, and verify that refinished pieces sit true once reinstalled. You don’t need professional-grade laser systems—a reliable 25-foot tape measure and an aluminum straight edge handle most residential tasks and typically cost less than a single pack of premium sanding discs. When shopping, apply the same deal-hunting strategies you use for power tools: buy combo sets during seasonal sales, check store brands that match name-brand accuracy at lower cost, and read reviews focused on durability rather than flashy features. Pairing your palm sander with even basic measuring tools prevents costly mistakes like over-sanding one section of a door or removing too much material from a cabinet face. This combination of precision and power keeps projects on track, reduces wasted sandpaper, and ensures your finished surfaces meet the standards you envisioned before you started.
Step-by-Step Guide to Using a Palm Sander for Cost-Effective Renovation
Step 1: Planning Your Project and Gathering Materials
Before plugging in your sander, walk through the renovation area and identify every surface that needs attention. Measure the total square footage you’ll be sanding to estimate how many sanding heads you’ll burn through—roughly one disc per 10 square feet of hardwood is a reasonable starting point. Write a materials list that includes your palm sander, appropriate grits from your sanding head collection, a vacuum or dust mask, tack cloths, and any finishing products. Set a realistic budget by pricing these items in advance, checking for bundle deals that pair consumables with your tool purchase.
Step 2: Operating the Palm Sander Safely and Efficiently
Always wear eye protection and a dust mask, even if your sander has built-in dust collection. Start with your coarsest grit and work progressively finer, letting the tool’s weight do most of the work rather than pressing down hard. Move the sander in slow, overlapping passes—rushing creates uneven spots that require additional sanding and waste both time and sandpaper. Sand with the wood grain on natural surfaces to avoid cross-grain scratches that show through finish coats. Check your progress frequently by wiping the surface with a slightly damp cloth, which reveals low spots and remaining imperfections without committing to a finish.
Step 3: Maintenance and Storage for Longevity
After each session, blow compressed air through the sander’s vents and dust ports to clear accumulated debris that can overheat the motor. Inspect the sanding pad for wear or damage—a warped pad produces uneven results and should be replaced immediately rather than compensated for with extra pressure. Wipe down the housing with a dry cloth and store the tool in a case or sealed container away from moisture. Periodically check the power cord for fraying and the switch for responsiveness. These five-minute habits extend your sander’s lifespan by years, protecting the investment you made finding the right model at the right sale price.
Smart Strategies for Maximizing Your Palm Sander Investment
Achieving professional-quality renovation results on a modest budget comes down to smart decisions made before you ever switch on a tool. Choosing an affordable palm sander with the right balance of power, durability, and dust management sets the foundation for years of productive use. Leveraging seasonal sale prices, price-tracking tools, and refurbished options ensures you pay less for the same quality others buy at full retail. Building a practical sanding head collection around three core grits covers nearly every residential project without cluttering your workshop or draining your funds. Pairing your sander with affordable measuring tools elevates accuracy and prevents the costly mistakes that force rework. Together, these strategies create a system where each component supports the others—the right tool, the right consumables, and the right technique working in concert to deliver savings that compound across every project you tackle. Start with one well-researched purchase, apply the maintenance habits that protect it, and let each successful renovation build your confidence and your capability. The money you save stays in your pocket, and the skills you develop make every future project faster, cheaper, and more satisfying.