 Isaiminia World Breaking News & Top Stories
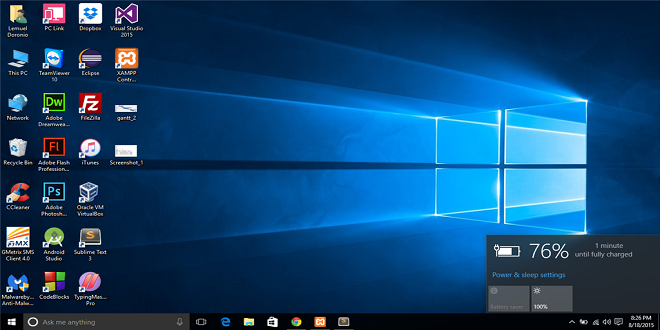
Identifying and Resolving Laptop Charging Issues
It’s crucial to understand that the causes of charging problems in laptops can vary, ranging from common issues to more isolated occurrences.
Firstly, it’s essential to rule out any potential temperature-related problems with the battery. If clicking on the battery icon in the system tray displays the message “Charging not in progress,” the issue may simply be due to overheating. The solution here is relatively straightforward – either temporarily disconnect the battery or allow the laptop to cool down by not using it for a while. These options can be alternated to prevent further overheating.
In rare cases, the sensor responsible for measuring the battery temperature may become damaged, resulting in incorrect temperature readings, even if the battery’s actual temperature is normal. This can prevent the system from charging the battery, and addressing this issue can be complex and may require professional attention.
Method 1: Disabling Software Restrictions
This method is suitable for users experiencing inconsistent charging levels, such as the battery charging only up to a specific percentage, like the middle or above. Often, the culprits behind this erratic behavior are software programs installed either by the user in an attempt to extend battery life or pre-installed by the laptop manufacturer.
Battery Monitoring Software:
Users frequently install battery monitoring utilities to maximize their laptop’s battery life. However, these utilities do not always function correctly and can sometimes do more harm than good. To resolve this issue, consider disabling or uninstalling such programs, then reboot your laptop for confirmation. Some software might operate quietly in the background, and you may not even be aware of their presence. Look for any program icons in the system tray, identify the program name, and temporarily disable it, or better yet, uninstall it. You can also review the list of installed programs in the “Control Panel” or “Windows Settings” to identify and uninstall unnecessary software.
BIOS or Firmware Limitations:
In certain cases, even if you haven’t installed any third-party software, either firmware programs or BIOS settings, which may be enabled by default on some laptops, can impose restrictions on battery charging. This can result in the battery not charging up to 100%, but only to a lower percentage, like 80%.
For instance, Lenovo laptops often feature a utility called “Lenovo Settings,” which can be found in the “Start” menu. Within the “Power” tab, under “Power Saving Mode,” you can find information about this function, which limits charging to around 55-60% when the mode is active. If this is inconvenient, you can disable it by toggling the switch.
Samsung laptops have a similar feature in “Samsung Battery Manager” (“Power Management” > “Extend battery life” > “OFF”), and other laptop manufacturers offer similar programs with analogous actions.
In some cases, you may find similar limitations in the BIOS settings, which can also be disabled to remove the charging percentage limit. However, it’s important to note that not all BIOS versions have this option.
To access the BIOS, follow these steps:
- Boot your laptop and enter the BIOS setup.
- Using the keyboard arrow keys, navigate to the “Battery Life Cycle Extension” or a similarly named option within the available tabs (typically located in the “Advanced” tab).
- Disable the option by selecting “Disabled.”
Method 2: Driver Updates
Indeed, even your laptop’s battery has its own driver, and in Windows 10, like many other drivers, it’s typically installed automatically during the OS installation or reinstallation process. However, due to incorrect updates or various other factors, these drivers can experience functionality issues and may need to be reinstalled.
Battery Driver:
- Open “Device Manager” by right-clicking on the “Start” button and selecting the appropriate option.
- In Device Manager, locate the “Batteries” section, and expand it. Here, you should find an item with a name like “Microsoft Surface ACPI-Compliant Control Method Battery.” If the battery doesn’t appear as a device, it may indicate a physical defect.
- Right-click on the battery item and choose “Remove Device.”
- A confirmation window will appear; proceed with the removal.
- Some also recommend performing the same steps for “AC Adapter (Microsoft).”
- Reboot your computer, ensuring you perform an actual restart and not just a sequential shutdown followed by manual power-up.
- After the system restarts, the driver should reinstall automatically. Give it a few minutes to see if the issue has been resolved.
As an alternative solution, instead of rebooting, you can perform a complete shutdown of the laptop, disconnect the battery and charger, hold down the power button for 30 seconds, then reconnect the battery, charger, and power on the laptop.
In cases where updating the chipset software, as discussed below, is relatively straightforward, dealing with the battery driver can be a bit more challenging. It’s recommended to update it through the “Device Manager” by right-clicking on the battery and selecting “Update driver.” In this scenario, the installation will occur from Microsoft’s server.
In the new window, select “Automatically search for installed drivers” and follow the on-screen instructions provided by the OS.
Chipset Driver:
In some laptops, the chipset driver may not function correctly. In the “Device Manager,” you won’t typically see any issues indicated by orange triangles, which usually accompany devices lacking proper drivers.
You can employ driver installation programs that automatically detect and install necessary drivers. From the list of drivers offered after scanning, select the one associated with the “Chipset.” These drivers have various names, so if you’re uncertain about a specific driver’s purpose, you can search its name online.
Another option is manual installation. To do this, visit the official website of your laptop’s manufacturer, go to the support and downloads section, locate the latest chipset software version compatible with your Windows version and size, download the files, and install them as you would any other regular program. Keep in mind that there’s no universal set of instructions, as each manufacturer has its own website and driver names.
If All Else Fails:
The above recommendations might not always resolve the issue, indicating more serious hardware problems that cannot be fixed through various troubleshooting steps. In such cases, why might the battery still refuse to charge?
Component Wear and Tear:
If your laptop is no longer brand new and the battery has been in use for 3-4 years or more, there’s a high likelihood of physical wear and tear. Nowadays, it’s quite simple to check this using software.
Incorrectly Purchased Model or Factory Defect:
For those who encounter this problem after replacing the battery themselves, double-check if the correct model was purchased. Compare the battery markings – if they differ, you may need to return it to the store. Always remember to bring your old battery or laptop for reference to ensure you get the correct model immediately.
Sometimes, even if the labeling is accurate and you’ve attempted all the previously mentioned methods, the battery may still not function. In such instances, it’s likely a factory defect, and you should consider returning it to the seller.