 Isaiminia World Breaking News & Top Stories
Hours into a color grading session, your eyes burn, your neck aches from craning toward a flat panel, and you’re second-guessing whether those shadow details are actually accurate or just an artifact of poor contrast. Sound familiar? Content creators—video editors and photographers alike—routinely push through these discomforts as if they’re simply part of the job. They don’t have to be.
Curved monitors have long been championed by the gaming community, celebrated for their immersive visuals and fast refresh rates. But look closer at the technology behind them, and you’ll find a suite of features that speak directly to the needs of creative professionals. High contrast VA panels, flicker-free displays, fully adjustable stands, and adaptive sync technology aren’t just gaming perks—they’re practical solutions to real workflow problems.
So can a monitor designed with gamers in mind genuinely elevate a creative professional’s editing suite? The answer is a compelling yes—provided you understand which features matter and why. This article breaks down exactly how an ergonomic curved monitor addresses the physical strain, color accuracy demands, and workflow efficiency challenges that define a modern creator’s daily experience.
Why a Curved Monitor is a Game-Changer for Editors, Not Just Gamers
The human eye naturally perceives the world along a curved plane. Flat monitors work against this biology, forcing your eyes to constantly refocus as they scan from center to edge—a subtle but cumulative strain across an eight-hour editing session. A curved display bends to match your natural field of view, keeping every point on screen equidistant from your eyes. The result isn’t just comfort; it’s visual consistency that directly supports accurate editing decisions.
Where flat panels demand that you turn your head or shift your gaze sharply to check peripheral elements, a curved screen draws those elements closer into your natural sightline. For an editor working with a sprawling timeline on one side and a preview window on the other, this means less physical movement and fewer moments where your attention breaks from the work itself. Multi-window workflows—color grading tools open alongside footage, or Lightroom’s develop panel next to a full-resolution preview—feel genuinely more intuitive when the screen wraps gently around your workspace rather than presenting a rigid rectangular plane.
This foundational geometry sets the stage for everything else a quality curved monitor for gaming delivers. Better field-of-view alignment reduces eye fatigue, which in turn supports more accurate color judgments over longer sessions. Reduced head movement means better posture over time. What begins as an immersive design choice for gaming translates, in a professional editing context, into a smarter, more ergonomically sound working environment where the display works with your body rather than against it.
Ergonomic Design: Your Body Will Thank You
Combating Eye Strain and Fatigue
A curved display does more than look immersive—it actively reduces the visual effort your eyes expend during long sessions. Because the screen’s edges curve toward you rather than angling away, your eyes don’t need to continuously refocus as they travel across the panel. This consistency is subtle in any single moment but meaningful across hours of work. Beyond the curve itself, quality monitors built for extended use typically include flicker-free backlighting, which eliminates the imperceptible screen pulse that contributes to headaches and eye fatigue over time. Many also incorporate blue light reduction modes that lower high-energy wavelength output without introducing the yellow tint that makes color-sensitive work unreliable. Used together, these features let you push through a demanding edit without your eyes paying the price afterward.
The Power of Full Adjustability
No monitor feature matters more for long-term physical health than the ability to position your screen precisely where your body needs it. An adjustable stand that supports height, tilt, and swivel gives you control that a fixed-position display simply cannot offer. The correct setup places the top edge of the screen at or just below eye level, keeping your neck in a neutral, slightly downward gaze rather than craning upward or hunching forward. Height adjustment accommodates whether you’re sitting in a standard chair or a raised studio stool. Tilt lets you fine-tune the angle to match your exact seated posture, while swivel makes it easy to share your screen during a client review without contorting your workspace. For creators who spend six to ten hours daily in front of a display, this kind of precise positioning isn’t a luxury—it’s the difference between ending a session feeling functional and ending it in genuine discomfort.
Superior Display: VA Panel Technology and Color Fidelity
Deep Contrast and Accurate Color Reproduction
When you’re pulling shadows in a dark cinematic scene or evaluating skin tones in a portrait, the panel technology behind your display determines whether you’re seeing truth or a flattering approximation of it. VA (Vertical Alignment) panels deliver contrast ratios that IPS displays simply can’t match—often exceeding 3000:1—which means genuine blacks rather than the washed-out dark grays that cause editors to misjudge shadow detail. That distinction matters enormously when you’re deciding whether a scene’s darker regions carry texture or collapse into a muddy void. Beyond contrast, VA panels designed for creative work typically cover a wide color gamut, with strong sRGB coverage for web and social content delivery, and meaningful AdobeRGB coverage for photographers working toward print output. This breadth means the colors you grade or retouch on screen map accurately to what your audience ultimately sees, closing the gap between creative intent and final result.
Calibration and Consistency
A wide color gamut is only valuable if the panel actually renders those colors accurately from the moment you power it on. Factory calibration—where each monitor is individually measured and adjusted before shipping—ensures that Delta E values stay low, meaning the difference between the color the display shows and the color it’s supposed to show remains imperceptible to the human eye. Manufacturers like KTC ship their curved monitors with a calibration report as evidence of this process, giving editors a documented baseline to work from. Beyond the factory setting, hardware calibration support allows you to use a colorimeter to build a custom ICC profile tied specifically to your unit, accounting for any drift that develops over time. This consistency across sessions is what separates a professional editing environment from a guessing game—your color decisions made on Tuesday will hold up when you revisit the project on Friday.
Smoother Playback: The Advantage of 165Hz and Adaptive Sync
Refresh rate is a spec that creative professionals often dismiss as irrelevant to their work—a gaming metric with no bearing on color grading or photo retouching. That assumption deserves a second look. A 165Hz display refreshes its image 165 times per second, compared to the standard 60Hz found on most professional monitors. The practical difference isn’t limited to fast-moving game environments. When you’re scrubbing through a dense timeline, scrolling across thousands of photos in a culling session, or navigating a complex node tree in DaVinci Resolve, that higher refresh rate translates directly into smoother, more responsive motion that reduces the visual effort of tracking your cursor and content simultaneously.
Adaptive Sync technology—marketed as FreeSync by AMD and certified as G-Sync Compatible by NVIDIA—addresses a separate but related problem: the mismatch between your graphics card’s output frame rate and the monitor’s fixed refresh cycle. When these fall out of sync, you get screen tearing, where two frames appear split across the display simultaneously, or stutter, where motion briefly freezes before lurching forward. Neither is acceptable when you’re reviewing footage for delivery. Adaptive Sync dynamically adjusts the monitor’s refresh rate to match whatever your GPU is outputting, keeping playback fluid and artifact-free. For editors previewing high-frame-rate footage—60fps travel content, 120fps slow-motion sequences—this synchronization ensures what you see during review accurately represents what your audience will experience, making confident delivery decisions far more straightforward.
Choosing Your Ideal Ergonomic Gaming Monitor for Creative Work
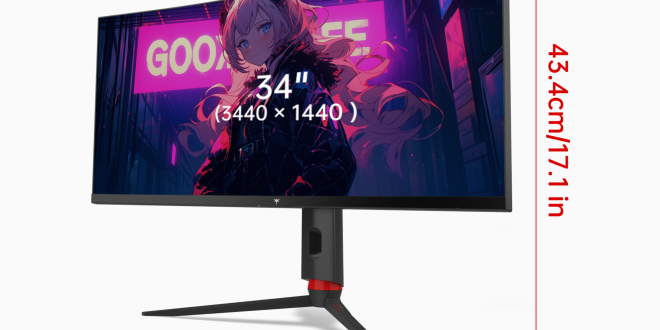
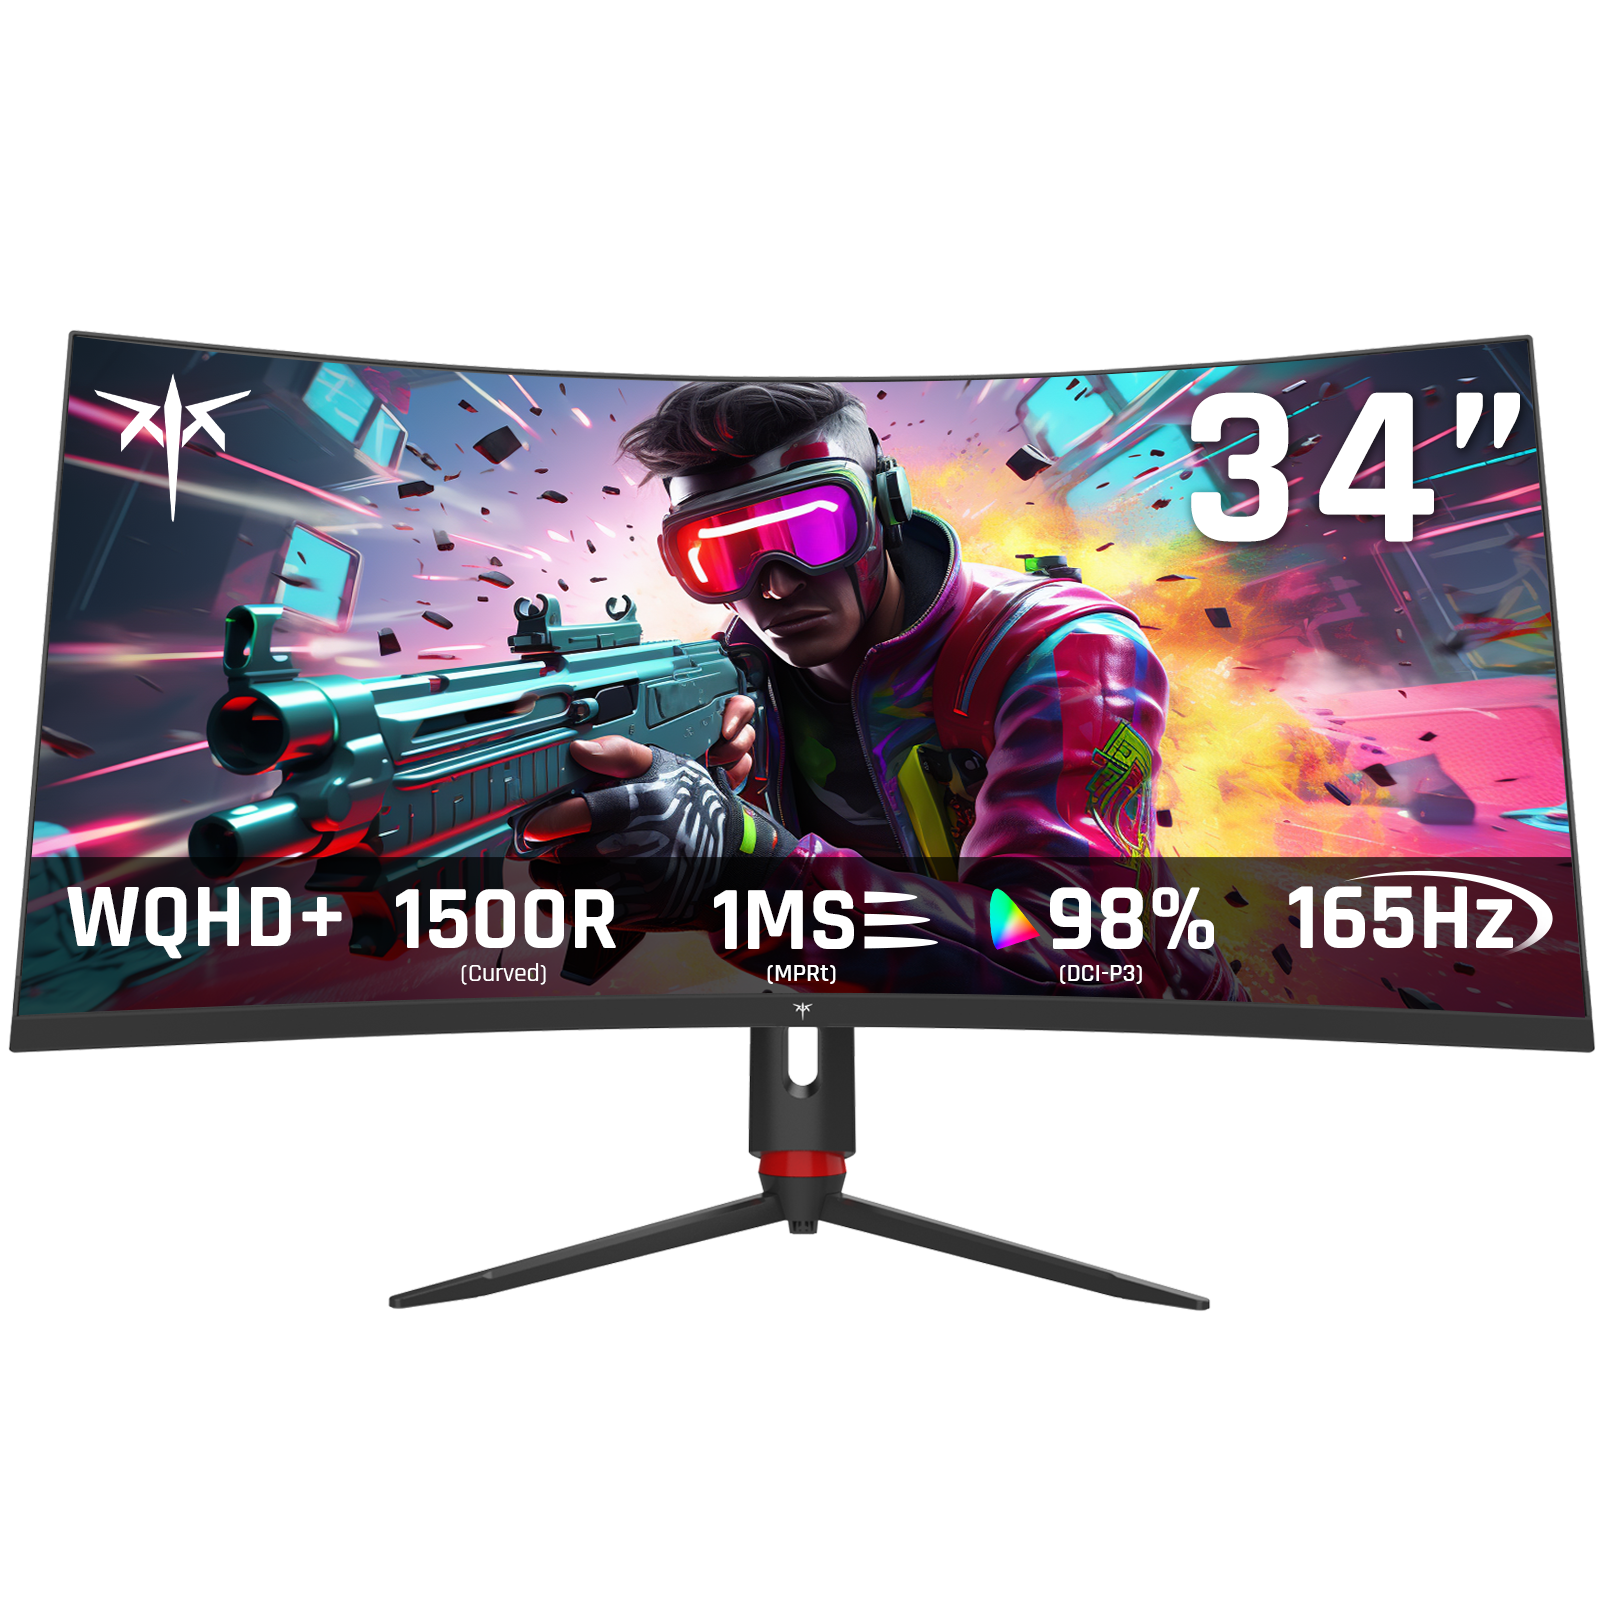
Not every curved monitor delivers equally on creative work demands, so knowing which specifications actually matter saves you from an expensive mistake. Screen size and curvature radius are your starting point. A 27-inch panel at 1800R curvature hits the sweet spot for most editing setups—wide enough to display a full timeline alongside a preview window, curved tightly enough to reduce edge distortion without feeling disorienting at close range. Tighter curvatures like 1500R work well for larger 32-inch panels where the increased screen real estate would otherwise push the edges too far into your peripheral vision.
Resolution determines how much fine detail you can actually evaluate. QHD (2560×1440) offers a meaningful step up from 1080p for most editing work, delivering sharp text and clear footage detail without demanding the GPU horsepower that 4K requires for smooth playback. For photographers doing critical retouching or editors delivering 4K content, a native 4K panel eliminates any ambiguity about whether you’re seeing true pixel-level detail.
Beyond the panel itself, confirm that any monitor you consider includes the full feature set discussed: a fully adjustable stand with height, tilt, and swivel; a VA panel with factory calibration documentation; 165Hz refresh rate with Adaptive Sync certification for both AMD and NVIDIA systems. Connectivity deserves equal attention—USB-C with DisplayPort Alt Mode and Power Delivery lets modern laptops drive the display and charge simultaneously through a single cable, eliminating desk clutter. Multiple HDMI and DisplayPort inputs give you the flexibility to connect a desktop workstation and a laptop without swapping cables between sessions.
Implementing Your New Monitor: A Step-by-Step Setup Guide
Step 1: Optimal Ergonomic Positioning
Before you open a single application, get the physical setup right. Using your stand’s height adjustment, raise or lower the monitor until the top edge of the panel sits at or just slightly below your natural eye level when seated. This keeps your gaze angled gently downward, relieving the neck tension that accumulates when you’re looking straight ahead or upward at a screen for hours. Position the monitor roughly an arm’s length away—close enough to read fine timeline details without leaning forward, far enough that the curve doesn’t feel overwhelming. Use the tilt adjustment to angle the screen face slightly upward, typically between 5 and 10 degrees, so the display surface is perpendicular to your line of sight rather than reflecting overhead lighting into your eyes. Finally, use the swivel function to center the screen directly in front of your primary working position, not offset to one side.
Step 2: Configuring Display and Color Settings
With the monitor physically positioned, navigate to the on-screen display (OSD) menu to configure the panel settings for editing work. Select the sRGB color profile for web and video delivery work, or AdobeRGB if you’re retouching images destined for print. Set brightness to match your ambient lighting—a common starting point is 120 cd/m² for a moderately lit room, dropping to 80 cd/m² in dimmer environments. Avoid the temptation to run brightness at maximum, as this compresses your perception of highlight detail. Enable Adaptive Sync directly in the OSD, then confirm it’s active in your graphics driver—AMD users should verify FreeSync is enabled in Radeon Software, while NVIDIA users should enable G-Sync Compatible mode in the NVIDIA Control Panel. If your monitor shipped with a calibration report, load the accompanying ICC profile into your operating system’s color management settings so your editing software references it automatically.
Step 3: Integrating into Your Creative Software Workflow
A curved widescreen display rewards intentional window arrangement. In Premiere Pro or DaVinci Resolve, dedicate the left portion of the screen to your timeline and the right to your preview window, keeping both visible simultaneously without overlap—the curve naturally draws each zone into your sightline without requiring head movement. In Lightroom, place the Develop panel on one side and the full-resolution preview at center, using the extra horizontal space to keep your histogram visible at all times rather than toggling panels. If your monitor supports picture-in-picture or picture-by-picture modes, these can be useful for monitoring a client feed or reference footage alongside your primary editing view. For photographers culling large shoots, the additional horizontal space accommodates grid view at a larger thumbnail size, reducing the scrolling required to evaluate a full shoot. Take fifteen minutes at the start to save your preferred window layouts as workspace presets within each application—this investment pays back immediately every time you open a project.
Ergonomic Curved Monitors Are a Smart Investment for Creative Professionals
The case for an ergonomic curved monitor in a creative professional’s workflow isn’t built on marketing language borrowed from gaming—it’s built on physics, physiology, and the practical demands of work that requires both precision and endurance. A curved VA panel with factory calibration gives you contrast and color fidelity that flat IPS monitors struggle to match. A fully adjustable stand transforms a passive piece of hardware into a tool that actively supports your body through ten-hour sessions. A 165Hz refresh rate with Adaptive Sync turns timeline scrubbing and footage review from a slightly frustrating experience into a genuinely fluid one.
Taken together, these aren’t incremental upgrades—they’re a coherent set of solutions to problems that content creators accept as unavoidable when they shouldn’t. Eye fatigue, neck strain, color misjudgments, and stuttering playback all have direct technical answers, and a well-specified curved monitor addresses each of them. Brands like KTC have built their curved monitor lineup around exactly this combination of ergonomic and display features, making them worth evaluating alongside more traditionally positioned professional displays.
Your workstation isn’t just the computer running your creative software—it’s the entire physical environment in which your creative decisions get made. A display that works with your body, renders color truthfully, and keeps motion smooth isn’t a peripheral luxury. It’s a core part of a professional setup that respects both the quality of your output and the longevity of your career. Treat it accordingly.