 Isaiminia World Breaking News & Top Stories

Choosing a first brick-based replica can feel overwhelming when dozens of options claim to be the most detailed, the most accurate, or the easiest to assemble. Adult hobbyists new to this niche often want a project that matches their patience level, storage space, and display goals, while parents shopping for a teenager typically prioritize safety, sturdiness, and instructional clarity. A good starting set balances mechanical realism, part count, and finishing quality without demanding advanced modeling tools or specialty adhesives.
This guide walks through the criteria that actually matter when picking your first gun model, so the finished piece looks satisfying on a shelf and holds up to occasional handling. Rather than repeating marketing claims, it focuses on part quality, mechanism design, historical accuracy, and long-term display considerations. By the end, you will know which questions to ask before adding a set to your cart, and how to recognize the traits that separate a rewarding build from a frustrating one.
Understanding What Defines a Quality Gun Model
A well-designed replica combines proportional accuracy, functional mechanisms, and clean part fit. When you examine a strong gun model collection, three signals tend to stand out: consistent brick color across batches, tight tolerances at the moving joints, and instructions that show sub-assemblies rather than just cramming every step onto a crowded page. These details are visible in customer photos and reviews long before you commit to a purchase, and they usually correlate with a smoother building session and a display piece that stays intact after weeks on the shelf.
Scale, Proportion, and Historical Faithfulness
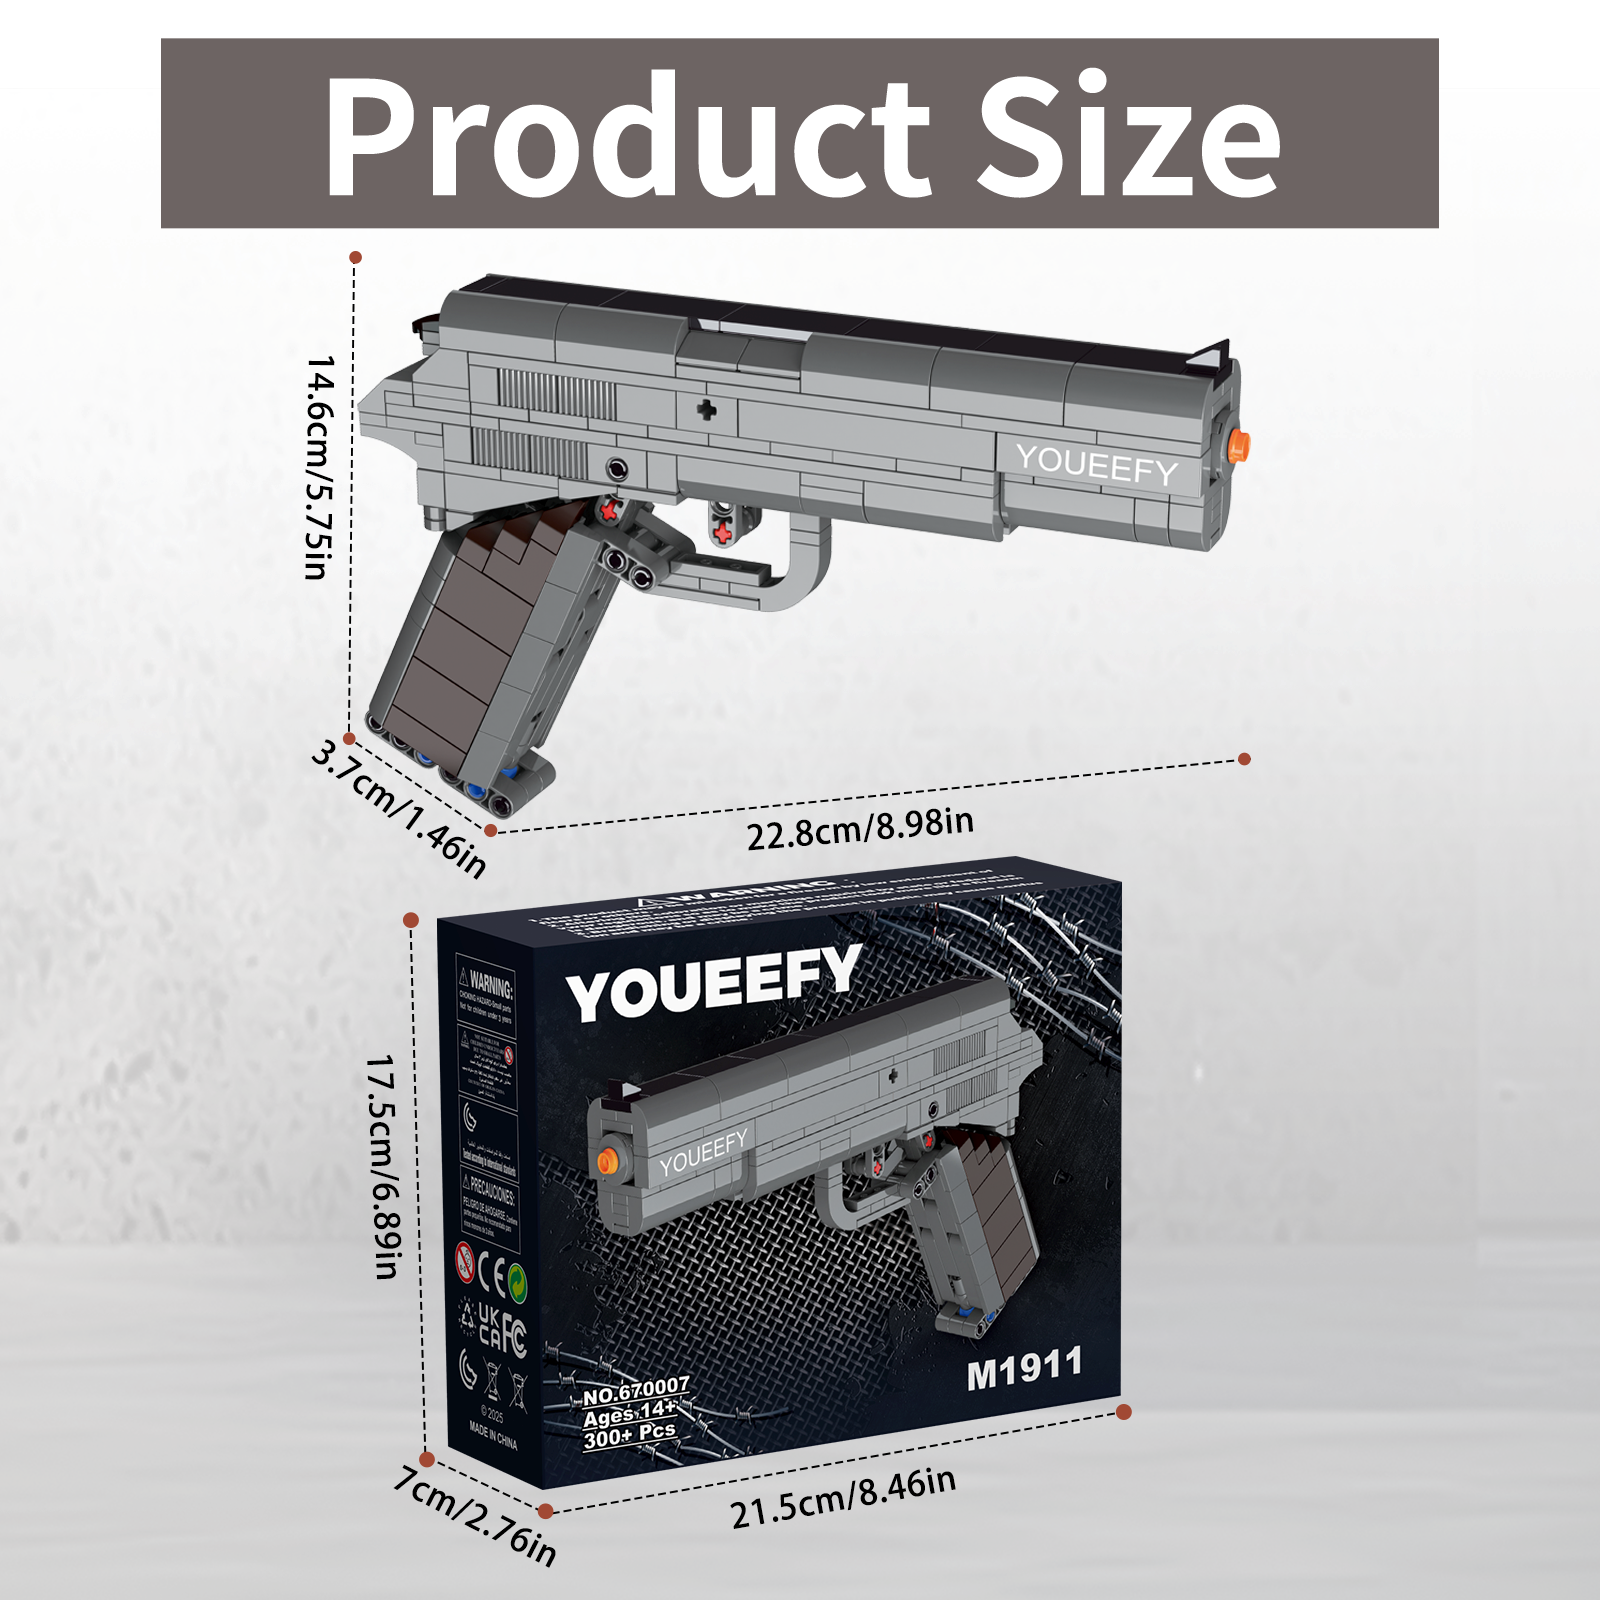
Scale matters more than beginners expect. A model that hits roughly 1:1 for a pistol or carbine tends to feel satisfying in the hand, while an undersized rendition of a rifle can look toy-like next to reference photos. Before buying, compare the listed length against real specifications for the firearm being depicted. If the manufacturer publishes engineering drawings or overlay renders alongside the product image, that is a strong indicator of design care. For historical subjects, check whether iconic features such as receiver contours, iron sights, or stock geometry are captured through dedicated molds rather than generic bricks stacked to approximate the shape.
Working Mechanisms and Their Trade-Offs
Many replicas advertise functional charging handles, magazine releases, or trigger movement. These features add engagement but can also introduce failure points if the internal parts rely on stressed connections. First-time builders should look for mechanisms that use dedicated technic elements rather than clutch-power alone. A charging handle riding on smooth axles will operate hundreds of times without loosening, while one held together by friction between standard studs may loosen after a dozen cycles. Read the description carefully to understand which actions are static poses and which are meant to move.
Matching the Set to Your Experience Level
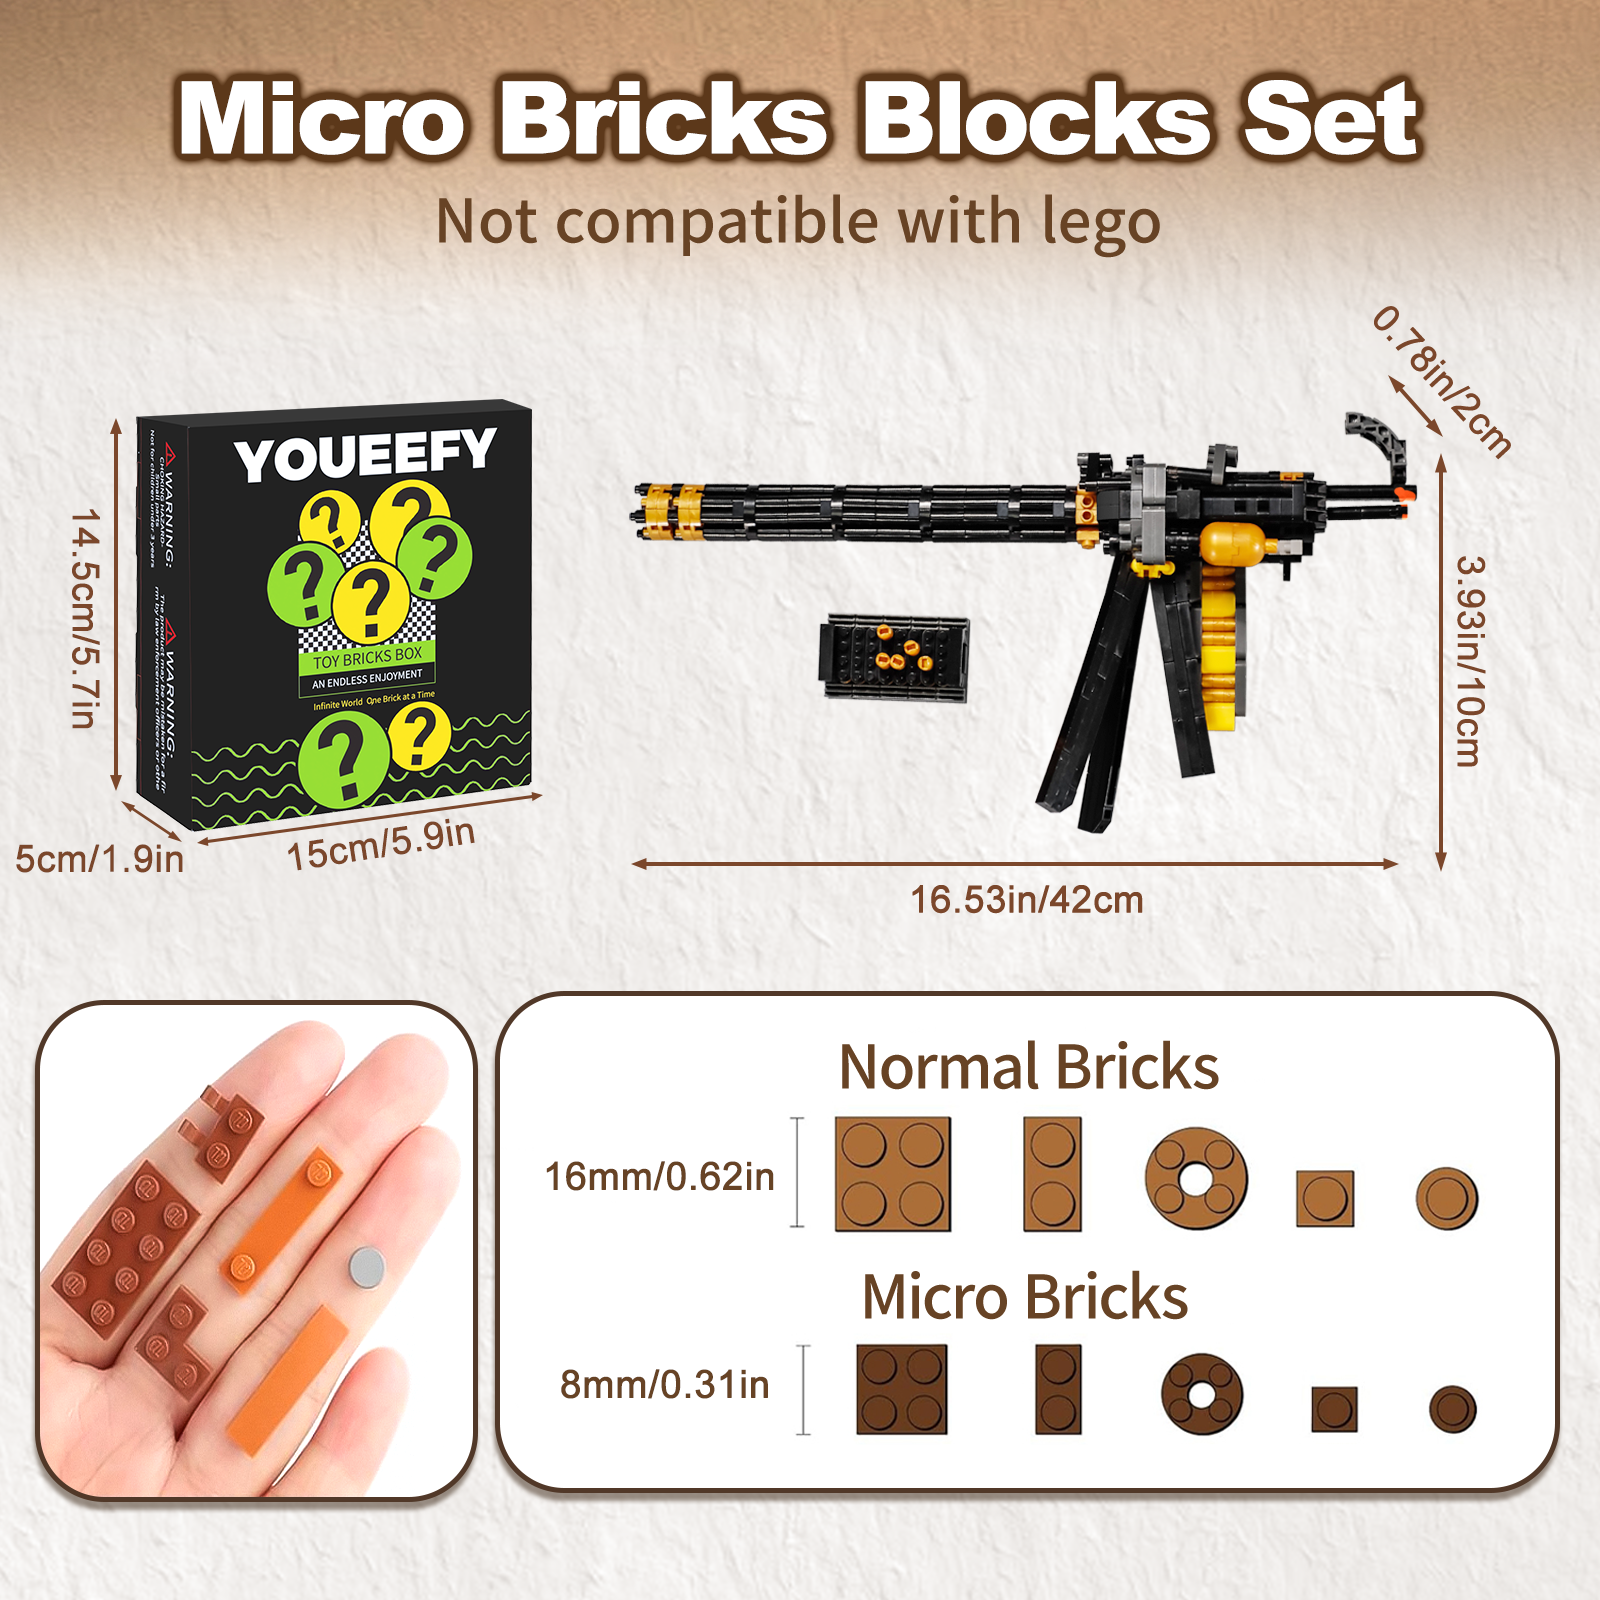
Piece count is a rough proxy for difficulty, but not a perfect one. A model with eight hundred pieces built around one straightforward chassis is often easier than a four-hundred-piece design that packs micro-detailing into every centimeter. Read a few build diaries or watch a segment of an assembly video before purchasing. Pay attention to whether hobbyists describe the middle chapters as repetitive stacking or as constant orientation changes and tiny sub-assemblies.
Recommended Difficulty Signals for Newcomers
Look for these signs that a set is genuinely beginner friendly: numbered part bags that break the build into manageable sessions, an instruction booklet that prints in color with high contrast, and a support structure designed to hold the model together during construction rather than requiring you to balance loose sub-assemblies. Sets that publish an estimated build time in the four-to-eight hour range typically hit a comfortable middle ground for a first project. Anything advertising twenty-plus hours is best treated as a second or third build.
Evaluating Display and Handling Realities
Before you buy, decide whether the finished piece will live on an open shelf, inside a display case, or in a drawer between building sessions. Open display favors matte finishes and models with fewer fragile antennas or sight posts, since dust and accidental bumps become the main enemies. Cased display allows more delicate detail work but requires measuring the interior of your cabinet against the model’s listed dimensions before purchase. If you plan to hand the finished piece to visitors, prioritize models where the grip, receiver, and barrel are unified into a single rigid structure rather than three loosely coupled sections.
Storage, Cleaning, and Repair Considerations
Every brick-based replica sheds a piece or two over time, so verify that the manufacturer offers replacement bricks or that the design uses common part shapes available from third-party sellers. A soft brush and a can of compressed air handle most cleaning needs, but glossy finishes attract fingerprints faster than matte parts. Store spare pieces in a labeled bag taped to the underside of the display stand so quick fixes stay convenient.
Comparing Brands and Getting Real Value
Price alone is a poor indicator of quality in this category. Two sets at the same price can differ dramatically in mold precision, instruction clarity, and packaging protection. Read at least three independent reviews before ordering, and prefer sellers such as YOUEEFY that publish clear part inventories, exchange policies, and high-resolution product photography. When a store shows the model from multiple angles, includes photos of the box contents laid out, and answers customer questions promptly, that transparency usually reflects the same care in the product itself.
Reading Reviews Without Getting Misled
Weight reviews that describe the build process over reviews that only rate the box art. A photo of the completed piece is helpful, but a review that mentions how many pieces were missing, how snug the connections felt, or how the instructions handled a tricky sub-assembly is far more informative. Skim past both extremes when the reviewer sounds either overly enthusiastic or immediately dismissive without specifics.
Assembly Environment and Tools
A clear, well-lit workspace with a low-pile mat prevents small pieces from rolling away and keeps the finished color scheme consistent while you work. Sort each numbered bag into shallow trays before starting a session. A brick separator tool, included in most premium kits, makes it easy to correct mistakes without stressing plates or tiles. Keep the instruction booklet flat with a clip or paperweight so you can read both pages of a spread without losing your place.
Turning Your First Build Into a Lasting Hobby
A first replica is more than a weekend project. It sets expectations for every future build, from how you organize your workspace to how carefully you evaluate the next kit on your list. By focusing on part quality, mechanism reliability, honest reviews, and a display plan that fits your actual living space, you increase the odds of finishing your first set feeling proud rather than exhausted. Take notes on what you enjoyed and what frustrated you, since that record becomes your personal reference the next time you compare options.
Treat the first build as a learning tool rather than a competition. Sets from thoughtful designers such as YOUEEFY reward patience with satisfying details, and the skills you develop transfer directly to more ambitious projects later. When the finished piece sits on your shelf, you will recognize each sub-assembly you built and appreciate the choices that led you there.