 Isaiminia World Breaking News & Top Stories
Image to video is one of the easiest ways to make static visuals feel more alive. Instead of starting with a text prompt alone, you begin with a photo, illustration, or design and let AI add motion, camera movement, and transitions. Videoinu describes its Image to Video tool as a way to turn static images into animated video clips with natural motion and visual depth.
This works especially well for creators who already have strong visuals. You might have a product image, a social post design, a portrait, or a piece of artwork that already looks good. The problem is that still content often gets less attention than motion content. Image to video helps close that gap, and Videoinu presents it as a simple upload-and-generate workflow rather than a complicated editing process.
Why This Workflow Matters
A lot of creative work already starts with images. Brands have product shots. Artists have finished illustrations. Creators have thumbnails, campaign assets, or character art. In those cases, starting from an image can be faster and more controlled than starting from a blank prompt.
Videoinu’s public workflow reflects that. Its image-to-video experience begins with uploading an image, then describing how it should move, then generating and downloading the result. The generator also supports JPG, PNG, and WEBP files up to 5MB, with a minimum width or height of 300 pixels.
That makes the tool practical for short-form content. If your goal is a quick ad variation, a social clip, or a moving version of a creative asset, you do not need to build the whole scene from scratch. You can start with the image you already have and focus on motion.
Why Use Videoinu for Image to Video?
One reason is simplicity. Videoinu’s official image-to-video flow is short and clear: upload your image, describe the motion, generate the video, and download it. Its FAQ also says you do not need animation or editing skills because the platform handles the animation process automatically.
Another reason is flexibility. Videoinu says its Image to Video feature is powered by multiple AI video models, each optimized for different animation styles. The same page says some models focus more on cinematic camera movement, while others are better for expressive or stylized motion. It also says users can generate multiple versions from the same image and choose the result that fits the project best.
That broader model range is visible on Videoinu’s AI Video Models page, which lists model families including Luma AI, Pika AI, Runway AI, Seedance AI, Sora AI, VEO AI, Vidu AI, Wan AI, Kling AI, and others. That means creators can explore different result styles in one place instead of rebuilding their workflow on different platforms.
How to Use Image to Video on Videoinu
Step 1: Start with a Strong Image
The first step is choosing the right source image. A clear image with one obvious subject usually works better than a crowded frame. If the AI can easily identify what matters most in the image, the final motion often feels cleaner and more intentional.
Good source images often include:
- product shots with clear focus
- portraits with readable lighting
- illustrations with one main character
- scenic visuals with depth
Because image to video builds from the uploaded visual, the quality of that image matters more than many people expect. Videoinu’s workflow puts the image first for a reason.
Step 2: Upload the Image
Once the image is ready, upload it into Videoinu’s Image to Video generator. The public tool accepts JPG, PNG, and WEBP files up to 5MB, with a minimum size requirement of 300 pixels on either width or height.
This is also a good moment to think about the final platform. If the video is meant for short-form social media, a portrait-friendly image may work better. If it is meant for YouTube or a website, a wider image may be the better starting point.
Step 3: Describe the Motion
After uploading, describe how the image should move. Videoinu’s page says users can guide camera movement, subject movement, or visual transitions, and that the platform selects the best AI model automatically. The prompt is optional, so you can keep this step simple if you only want light animation.
The most useful prompts here usually focus on motion rather than restating the whole image. For example:
A slow camera push-in while the subject’s hair moves gently in the wind.
That works because the image already provides the visual base. The prompt only needs to shape what changes over time.
Step 4: Choose the Format
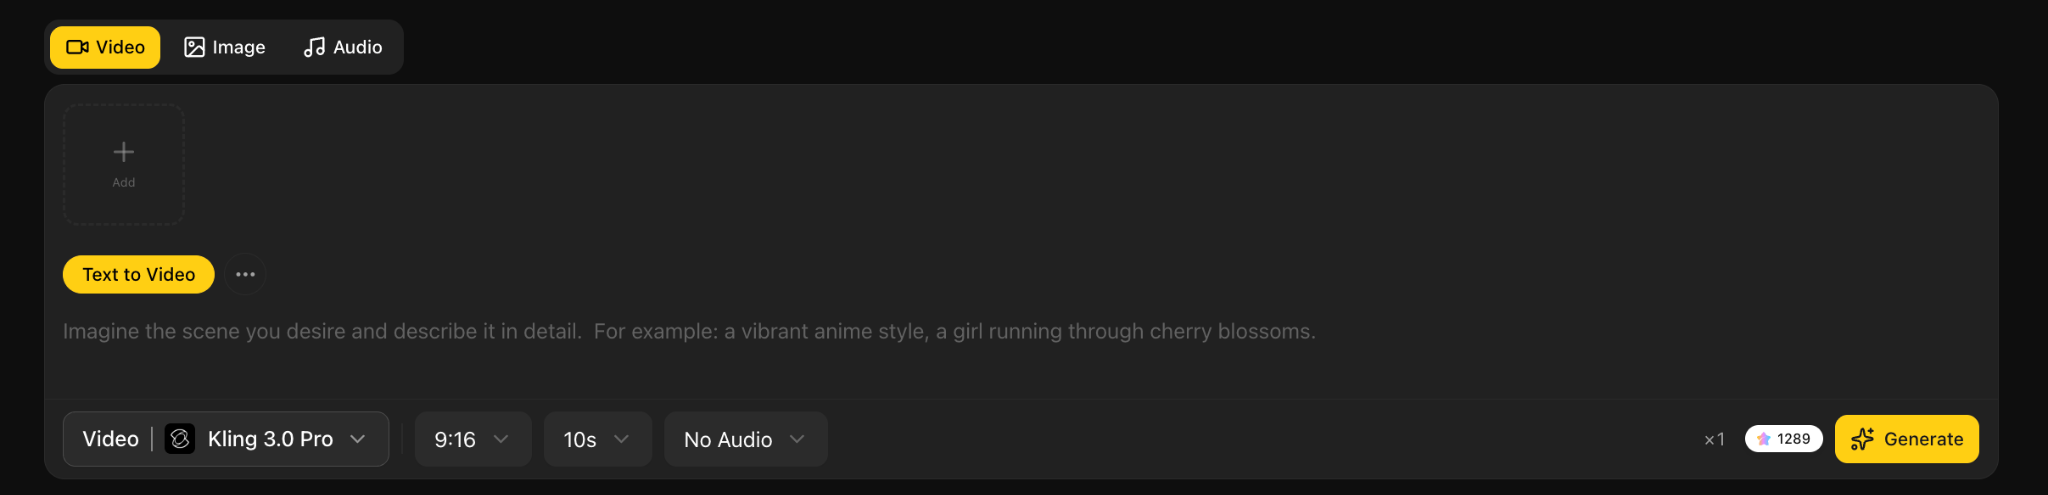
Videoinu’s public generator shows aspect ratio options such as Landscape 16:9 and Portrait 9:16, along with a 10-second output expectation.
This matters because format changes how usable the clip will be. A 9:16 video usually makes more sense for Reels, Shorts, and TikTok. A 16:9 format is often better for YouTube, websites, or broader cinematic scenes.
Step 5: Generate and Compare Versions
Once the image and settings are ready, generate the video and review the result carefully. Videoinu says users can generate multiple versions from the same image and choose the one that best fits the project. That is one of the strongest parts of the workflow.
When reviewing the output, ask:
- Does the motion feel natural?
- Does the main subject stay clear?
- Does the clip still feel true to the original image?
- Does the pacing fit the platform where you want to publish it?
If the answer is not quite right, change one thing at a time. A small update to the motion prompt or a different source image can make a big difference.
Models Available on Videoinu
One reason Videoinu stands out is that image to video is not limited to one fixed generation style. Its public pages say the feature is powered by multiple AI video models, and the AI Video Models page lists options such as Luma AI, Pika AI, Runway AI, Seedance AI, Sora AI, Kling AI, VEO AI, Vidu AI, and Haiper AI.
That matters because different image-to-video projects need different things. A product shot may need subtle, polished motion. A creative illustration may need something more expressive. A social clip may need stronger movement and faster pacing. The value is not just the model list. It is the fact that creators can explore different directions in one platform.
Tips for Better Image to Video Results
Start with a cleaner image. Because image to video begins with a visual input, the source often matters more than a long prompt. Videoinu’s upload-first design supports that idea.
Keep motion guidance short. A simple instruction like “gentle zoom in” or “soft camera pan” is usually more useful than a crowded paragraph.
Think in short clips. Videoinu’s public interface is built around a 10-second output, and its FAQ says image to video works best with short clips, though multiple clips can be combined into longer videos.
Use model variety when needed. Since Videoinu supports many AI video model families, including Luma, Pika, Runway, Seedance, Sora, Kling, VEO, Vidu, and Wan, you can test different animation styles without moving to another tool.
What You Can Create with Image to Video
Videoinu says image to video can animate photos, designs, artwork, and product images into engaging video content. Its FAQ also says the tool is widely used for ads, social posts, and promotional content.
That makes the workflow useful for:
- product clips for ads
- animated social visuals
- creative portfolio content
- moving versions of campaign assets
- quick concept tests before a larger production
This is where image to video becomes practical instead of gimmicky. You are not just adding movement for the sake of it. You are turning existing visual assets into content that is more likely to hold attention.
Final Thoughts
The easiest way to use image to video for social clips and creative content is to start with a strong image, guide the motion lightly, pick the right format, and compare a few versions. Videoinu’s public pages present that workflow clearly, and its broader model library adds flexibility through options like Luma, Pika, Runway, Seedance, Sora, Kling, VEO, Vidu, and Wan.
FAQs
What is image to video?
Image to video uses AI to animate a still image into a video clip. Videoinu describes it as transforming static images into animated videos with natural motion and visual depth.
What file types does Videoinu support?
Videoinu’s public generator accepts JPG, PNG, and WEBP files up to 5MB, with a minimum width or height of 300 pixels.
Do I need to write a prompt?
No. Videoinu’s generator shows the prompt as optional, so you can upload an image and generate a clip without extra text if you want.
Which models are available on Videoinu?
Its AI Video Models page lists models including Luma AI, Pika AI, Runway AI, Seedance AI, Sora AI, Kling AI, VEO AI, Vidu AI, Wan AI, and others.
Is image to video good for social media and ads?
Yes. Videoinu says image to video is widely used for ads, social posts, and promotional content.